Saturday, February 15, 2014

demolition

Once the stove was all clean and shiny it was time to get the brick behind it up to snuff. Or so I thought, until I was ready to roll and realized I had no paint. So that story will wait for another day. Not to be deterred, We decided to demo the existing tile instead. This way, i figured. we could knock up any dust we wanted without disturbing our new paint job. Brilliant!

"before"
Who would want to see these go?!
 So, I started by trying to wedge out what I thought was the half-round trim. If you know anything about my parents house, you should know that the people who lived there before them did the most shoddy handiwork possible. And, this was the case again. It wasn't half round separating the tile and wood floor, you see. No, it was chunks of a hand rail. The kind of hand rail that goes along a staircase.


 No matter. We dug the handrails out of what turned out to be a sizeable trench, then just used a hammer and chisel to pull up the tile. I had been warned that this could be very difficult, depending on how the tile was laid, but they came up very easily and only a couple of them broke in the process.


It was dusty, and we definitely should have been wearing respirators. Again. Burning lungs aside, the task was actually super easy.


As we were knocking out the tile around the woodstove my dad asked why didn't we just move it. Um. I thought it couldn't be moved because it weighs exactly 93741234.3 pounds. But, apparently it can be done! So it was moved on to a sheet of plywood just next to us. I really wish I had known that was possible before I polished it. Anyway!


As we pulled up the tile we realized that it had been laid on what I intelligently declared was tin foil, but was actually sheet metal. The thin-set was coming off the metal in chunks, and tile needs to be laid on a clean, flat surface, so we decided to pull that up as well.


This turned out to be a little adventure for us, but that story, too, is for another day. For now, I'll leave you with this glorious image of a hearth free of disgusto-barfo 70's tiles, and a picture of said disgusto-barfo tile  on its way to the garbage.You're welcome.

Sunday, February 9, 2014

shiny and new

Remember the Christmas present I got for my parents? Ah, no you don't because I never wrote about it. Oops! Well, for Christmas I bought them a bunch of tile, some spacers, grout, and other fun stuff. Why, you ask? Because of the huge eyesore that remained after I painted their dining room. 


Yikes.

Their Christmas present was that I would replace that horrible tile with white subway porcelain tiles that look like marble. (They look like this, but they're not real marble). It was pretty obvious, though, that you couldn't replace the tile without addressing the area around it, too. So today was step one of delivering their Christmas gift: polishing the woodstove.

I'll admit, the woodstove has looked like that for so long I took it for granted that it would look that way. What else could it look like? I did some research online and found that it's actually pretty easy to get it looking back to new, effectivly erasing more than 20 years of rust and yuck.

I started by sweeping everything (including the brick) with a broom. Then Dave and I attacked the woodstove with some coarse steel wool, focusing on the rust spots. It immediately started to taint the air with a disgusting metallic taste, so if you're going to try this I'd recommend wearing one of those dorky mouth cover things.

We soldiered on while holding our breath, even though it looked like we were just pushing the rust around. We would periodically wipe our areas down with a damp rag to make sure we were actually doing something, and all told the sanding phase took about two hours. (There was a lot of rust and the stove has a lot of ridges).


After that, I wiped down the entire woodstove with mineral spirits to get it polish ready.


The polishing step was very straightforward - I put a small amount of polish on a rag, wiped it on, and kept it moving. It was pretty amazing how dramatic the effect was - I told you I forgot what it was supposed to look like!


The stove has a lot of detail in it, some of which I couldn't get with the rag. I used a Q-tip so some of the trickier spots, and even still there are still a few areas I didn't hit. Those areas look pretty obvious in the photos, but in real life you can't see them at all.


After the polish dried (45 minutes?) I wiped the entire thing down with a clean, damp rag to remove any excess polish that didn't soak in, and voila!


This project took near 3 hours and cost about $15. Not bad for such a dramatic before and after! Next, it's on to white washing the brick!


Saturday, February 8, 2014

garden planning


Even though there’s a fresh foot of snow on the ground I’m already excited to get back out to my garden and see what I can grow this year. I learned my lesson from last season that it’s important to plan exactly what you’d like to grow and when each of those things need to be planted, so I’ve done just that.
Here’s what I’m looking forward to this season, in the form of a planting schedule (dates follow the Friday of each week based on predicted first and last frost dates):

Feb 14 – plant lettuce, arugula, and pepper seeds indoors
Feb 21 – plan tomato seeds indoors
March 28 – plant bok choi, spinach seedlings
March 28 – April 11 – plant beet seeds and swiss chard seedlings (one plant per week)

March 28 – May 16 – plant lettuce, arugula, seedlings (one plant per week)

April 4 – plant basil seeds indoors

May 2 – plant summer squash and tomato seedlings, final beet seeds

May 16 – plant eggplant, peppers, winter squash, and basil seedlings

July 25 – pull up and replant bok choi and summer squash seedlings, beet seeds

August 8 – pull up and replant spinach, lettuce, arugula seedlings


And when I’ll be enjoying this food, via harvest schedule:
May 2 – July 11 – harvest lettuce, arugula
May 16 – June 13 – harvest spinach
May 30 – July 11 – harvest bok choi, beets, summer squash
May 16 – frost – harvest swiss chard
July 18 – frost – harvest winter squash, tomatoes, peppers, eggplant

 
And here’s how I plan to lay everything out:


Until then, this is what I'll be looking at...

Sunday, February 2, 2014

Showdown

Today is the biggest showdown of the year. No, I'm not talking about the game between the Broncos and the Seahawks, but the much longer standing, more deeply rooted rivalry between none other than myself and my bedroom. Case in point:


These drawers, once a welcome storage solution for my accessories (belts, scarves, and purses) is now a dumping ground for... everything.

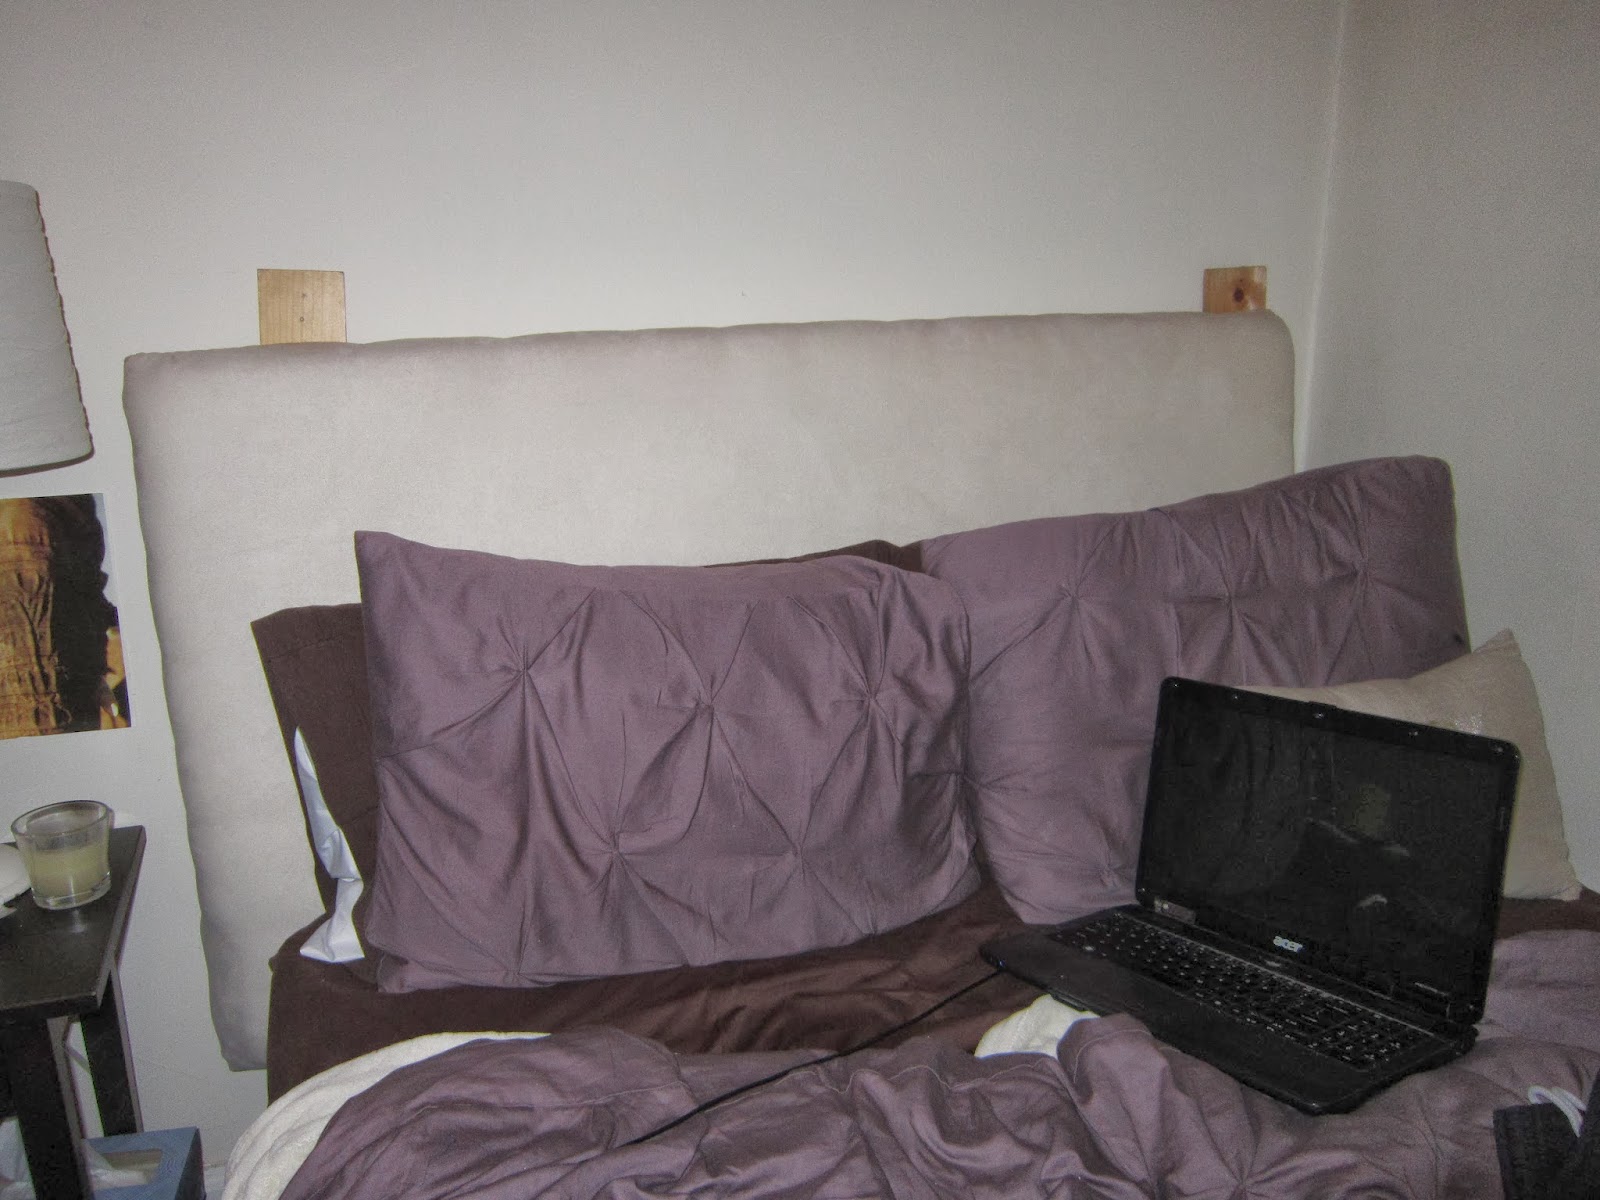
My (unmade) bed is almost always used as a make-shift closet - even though my actual closet is less than three feet away. Also the headboard, which I disassembled nearly a month ago, has yet to be reassembled. Assembly = 4 screws. Sometimes my laziness appalls me.


A pile has grown next to my dresser. It's been there so long I'm not even sure what's at the bottom of it, but I can tell you the top is comprised of magazines I'll never have time to read and financial documents that probably shouldn't be laying around. Also, full garbage can. Ew.


My closet. Dear dear dear closet. I've tried so hard to tame you and yet, I often can't even open you without moving something first. I'm sure this means I have too much stuff and yet, I still dream or organizing you into submission.


And let's not forget the other areas of my house... bathroom storage and food storage. The bathroom actually isn't that bad, and it could probably take in some of the unwanteds from my bedroom, but the pantry - I've got plans for you, my friend.


And there you have it - before shots from today's game. It's on. It is so on.

Wednesday, January 22, 2014

Breckenridge, CO

My uncle cousin, and some friends invited me to join their ski trip to Breckenridge, Colorado for an extra long weekend. It was my second time at Breck, and maybe my fourth time skiing out west. I had a great time seeing everyone, and we had some of the best ski conditions I think I've ever experienced. The views were 'literally awesome' - that is to say they were awe inspiring in the truest sense of the word. Too bad a camphone couldn't do it justice.

And now, a photo dump: